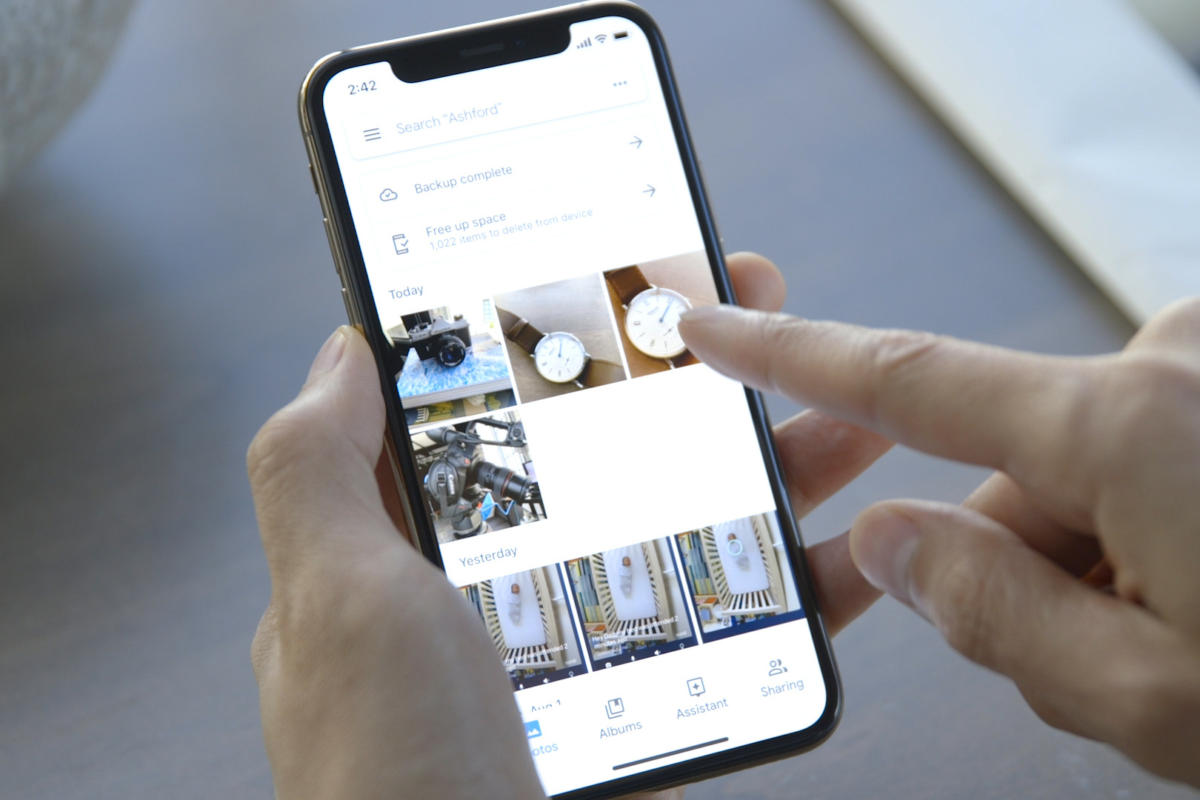
Backing Up Your iPhone Photos on Google Photos

Life is unpredictable. One moment you’re snapping photos and having fun, then next moment you could be mourning over the loss of your phone or the lack of space to take photos on your trip. Maybe you’re simply looking for alternatives to Apple’s iCloud for backup space.

One solution to all these issues is Google’s cloud storage service for photos, Google Photos.

Google Photos Facts

Similar to iCloud photos, Apple’s cloud storage device, Google Photos allows you to upload and access your photos and videos safely and securely online. It allows you to access files from all of your devices, even if they’re not from Apple.

Google Photos takes cloud storage service up a notch by giving you unlimited storage for free for all your photos and videos, provided they’re compressed. You can always buy more storage from Google for your uncompressed photos and videos if the initial 15 GB isn’t enough.

Like on the iCloud, you can search for photos. But with Google’s better search capability, you’ll be able to find your photos faster. Your photos are organized, and you can search for photos using the places and the things that can be found in them. There’s no need for tagging. For example, you can type in “dog” to look for photos of your pupper.

Google Photos also gives you the freedom to collect all your photos with friends and family using its shared albums feature. Share your albums with anyone no matter what device they have. They only need to download the free Google Photos App.

Transferring Photos from Your iPhone to Google Photos


  • Open the Apple App Store and download Google Photos.
  • After downloading, open the app and allow Google Photos to access all your Photos.
  • Decide if you want to allow the app to send you notifications—it’s all a matter of personal preference.
  • You now have the option to Back Up and Sync and to choose the image quality you’ll be using to save your photos and videos:
  • Optimized. To get free, unlimited photo and video storage, Google Photos needs to compress the files. If you’re only looking to backup files to get more space on this device, this is a good option.
  • Original. You can still use Google Photos without having to compress your files, but you’ll be limited to 15 GB of free space. If you need more storage space, you’ll need to purchase more from Google.


To check if your photos are backed up

  • Open Google Photos
  • Sign in to your Google account.
  • Tap the Photos icon (square with a mountain icon).
  • At the top of the window, you’ll see the status that tells you if your photos have been backed up or not.


Google photos is a great alternative cloud storage service. You can access your photos from any device, even your laptop. But if your laptop isn’t up to it anymore, you can get cash for your laptop and purchase a newer model that can accommodate these services.


Restoring Google Play Store After Uninstalling It

You’re browsing your phone, looking for games that you can download, and then you stop mid-search because you don’t see the Google Play Store app icon anywhere. Don’t panic. There are multiple ways to restore the app. Here’s a quick guide.

The Google Play Store app cannot be uninstalled on devices that already have it pre-installed. So, what’s wrong here? If your app icon is missing from your device, chances are, you might have disabled or hidden it.

There are also many other reasons why the app will stop working. You might be running low on storage space, you need to clear cache and data from the app, or you may even need to keep the Google Play Store app up to date.

Restoring the Google Play Store App

1.       Transfer App Icon from the App Drawer to Your Home Screen

It’s possible that you’ve only removed the app icon from your home screen and did not delete it. To restore the app to your home screen:

  • Open the App Drawer by swiping up on your device’s home screen or by tapping on the App Drawer icon.
  • Find the Google Play Store app icon.
  • Tap and hold the icon and then drag it to your home screen.
  • Another option is to tap and hold the icon, and then select the “Add to Home” option.

2. Check for Hidden Apps

You might have also accidentally hidden the app icon. To restore a hidden app:

  • Open your device’s launcher, then go to Home Screen Settings.
  • Look for the “Hide apps” button. Tap to open and then proceed to unselect the apps you don’t want hidden.

3.       Enable from App Settings

Chances are, the app is still on your device, only you’ve disabled it. To enable it again:

  • Go to your device’s Settings. Then, open Applications or Applications Manager.
  • You’ll see that your apps are divided into four categories, namely: Downloaded, On Card, Running, and All. Click on the “All” button.
  • Scroll down and try to find Google Play Store on the list.
  • Tap selection to open.
  • If it has been disabled, tap on the “Disabled” button to enable the App.

4.       Download and Install the APK

If you find that the app is completely missing from your device, you have the option to download and reinstall its APK file by following these steps:

  • Search online for the latest downloadable Google Play Store APK.
  • Download the Google Play Store APK.
  • After downloading it, transfer the APK file to your device.
  • Install the APK.
  • Restart your device only when necessary.

If you can’t find the Google Play Store app, you need to make sure that you’re using the same Google account that you used to download it. You can use any app that you bought on Google Play on any Android device without having to pay for it again. With the same Google account, you can do any or all of the following:

  • Install an app on any Android device.
  • Install the app of your choice on a new Android device.
  • Reinstall deleted apps.

There’s no need for you to panic and think that your device is faulty. If you’re having the same problem with your Chromebook, the steps are pretty similar. Don’t sell your laptop online just yet and stay tuned for our next guide.

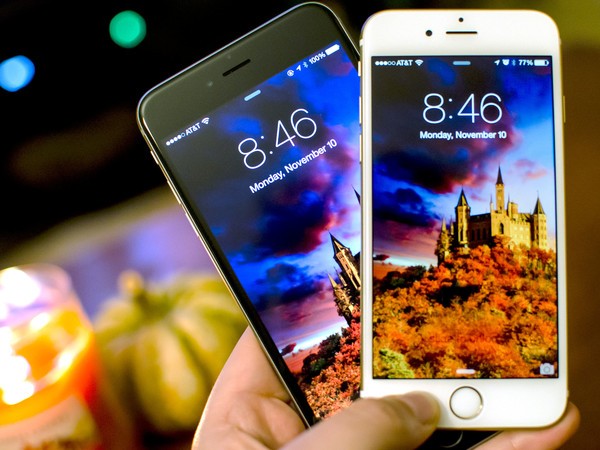
The Best Wallpaper Apps for iPhones

Having a cool and personal wallpaper is part of what makes your phone unique, and seeing a favorite image can easily put a smile on your face.

Unfortunately, iPhone users may notice how it carries a limited selection of wallpaper choices. Sometimes you can buy wallpapers and apps from stores and sites that sell Macbooks and iPhones, but that’s usually only a one-time purchase and can be expensive.

Some users use photos from their camera rolls. However, if you want to choose from existing wallpapers for convenience or even make your own, there are several apps that let you do either.

Best in Variety: Vellum Wallpapers

This app is one of the best when it comes to a wide variety of updated wallpapers and designs. The interface is easy to use and you have access to a wide variety of wallpaper images. The way wallpapers are categorized is very organized, making it easy to find several options with similar themes.

Pros: Free to access and premium is inexpensive at a one-time fee of $1.99. You can also blur your chosen wallpaper and try it on your phone without exiting the app.

Best in HD: Everpix

If you want high-quality, Retina, or 4k wallpapers for your home and lock screen then Everpix is the app for you. This app has a variety of high-quality wallpaper choices and the collection is updated regularly. You can see how wallpapers rank based on user activity and you see the top choices every time you log in.

Pros: Categorization is organized and easy to navigate. You can mark “favorites” to come back to later, and it has choices for newer iPhone models like the X, XSMax, and 11.

Best for Creating Your Own: Magic Screen

Magic Screen gives you endless customization options. You can select from their library of existing wallpapers, but you can also make your own from scratch using their templates as well as your photos and text.

Pros: It has over 150 fonts and 20 calendar templates available, and you can turn your photo into a GIF or live wallpaper. You can also share wallpapers via WiFi.

Best for Animated Wallpapers: Live Wallpaper to Me

If you want animated wallpapers then Live Wallpaper to Me is a perfect choice. Their library offers over 1,000 animated wallpapers in a wide variety of categories.

Pros: New animated wallpapers are added weekly, and the app interface can be set to a variety of languages including English, Japanese, German, and Thai.

Best Overall: Kappboom

Kappboom isn’t just a wallpaper app; it also offers cool quotes, fun facts, and food and drink recipes. You can choose from a library of over 20,000 existing high-quality wallpapers, and even make your own photo collage wallpapers.

Pros: It has many features of other wallpaper apps rolled into one, a slideshow option that plays wallpapers for you to view and select and tagged images that make searching easier. You can also share your wallpapers with friends.

Samsung Working on SelfieType – a New Invisible Keyboard

Mobile phones have become the device of choice for many tech-savvy professionals. However, no matter how convenient mobile phones are, they still aren’t able to replace laptops and computers when it comes to more comprehensive and complex work requirements.

This could be because phones and tablets with touchscreen keypads still present a challenge to workers who are used to typing on a traditional QWERTY keyboard. This is also why Bluetooth and mobile keyboards have become a must-have accessory over the years. The problem with this though is that bringing a mobile keyboard with you almost defeats the purpose of the mobile benefits of working on a phone or tablet.

Samsung understands how important keyboards and mobility are for users and shared an exciting app concept that addresses this issue: the SelfieType app technology.

A Virtual Keyboard

SelfieType is created through the Korean company’s C-Lab startup incubator and is one of several upgrade studies the company is researching. Other projects include an ASMR recorder and even a scalp scanner.

SelfieType itself is a virtual keyboard that utilizes artificial intelligence to translate finger movements into keyboard output. This means that once released you can use the app to create a virtual keyboard anytime and anywhere.

To use it, you just need to open the app, face the front-facing selfie camera towards you, and then begin typing on any surface. The proprietary AI of the app will analyze your finger and joint movies and produce the corresponding keyboard output. This differs from traditional keyboards because the AI analyzes finger movements instead of where you press your finger as regular keyboards do.

Once it’s perfected and ready for release, you can enjoy the ease of a using keyboard without the hassle of having to lug one along.

The Challenges of SelfieType

While the idea is innovative and would change the face of mobile keyboard usage, don’t go selling your laptops online or trading in your old Samsung phones and tablets yet. This type of technology is still in the research project stage and it is not without challenges.

First of all, people type differently and the lab will need to study if the app will work for non-traditional typists. Researchers are currently confident that they can make the app recognize a wide variety of typing styles but this would depend on how big and how versatile their pool of typists for study is.

Another potential issue is the smoothness and reliability to work at speed. There are many people out there who can type out several words a minute and the AI will need to be able to keep up smoothly for it to be efficient. If it stalls or can’t respond in real-time, it wouldn’t be able to serve its purpose.

These are just some of the issues that Samsung and C-Lab need to address before releasing the app, but once they’ve ironed everything out, SelfieType will change the way we use phones and tablets.

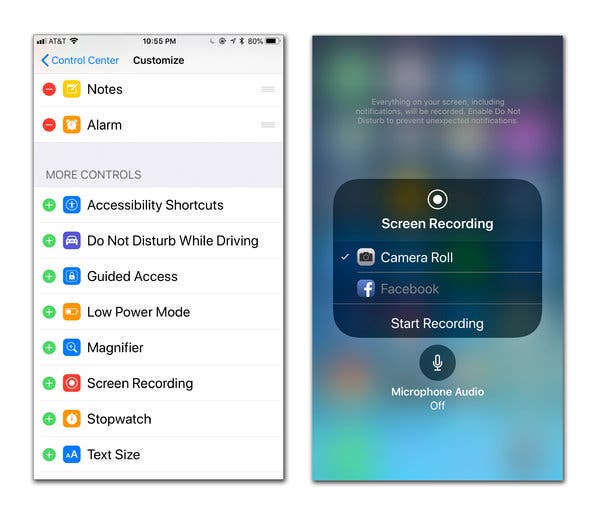
Screen Recording on Your iPhone

Screen Recording on your iPhone comes in handy when you’re trying to demonstrate how to complete a certain task on your phone, like how to use an app or how to complete a game. This tool is commonly used in tutorials as well as websites by teachers, gamers, and experts alike.

This feature comes with the iOS 11 or later and allows you to capture both images and sound on your device (iPhone, iPad, or iPod Touch) via Screen Recording.

Enabling Screen Recording

Before you can use the Screen Recording feature on your device, you need to add it to the Control Center first.

• Going to Settings, then the Control Center

• Go to Customize Controls and tap the green plus sign button next to Screen Recording.

Recording Your Screen

If you have an iPhone that’s older than the iPhone X:

• Swipe up from the bottom of your device’s screen

For newer iPhone models:

• Swipe down from the top right corner of your device

To begin recording:

• Once the Control Center is displayed, tap on the Screen Recording button, which looks like a big “O” with a circle inside. This will prompt a countdown. The button will then turn red to let you know that recording has started.

• For older iPhones, a red bar across the top of your screen appears to indicate that recording is ongoing. For the newer models, the red bar appears behind the time display.

• To stop recording, simply tap the red button on the Control Center or tap the red bar.

• You can find your recording in the Photos app, just like any other photo or video.

To add audio to your recording:

Say you want to add audio to your screen recording to make a more comprehensive tutorial. Turn on your device’s microphone so that you can record audio during the screen recording process.

• Open the Control Center and long press the Screen Record button. A new menu will pop up.

• Tap on the Microphone Audio icon, which will then turn red.

• Select Screen Recording after.

After recording:

You can edit, crop, or share your recording, which can be found in the Photos app.

Screen Recording Tips

• If you want to have an undisturbed recording session, put your device on Do Not Disturb mode to prevent texts, calls, and other alerts from disturbing your screen. Just open Control Center and tap on the moon icon.

• If you want a “cleaner” look on your screen, you can organize your icons by putting them in a folder.

Screen Recording is a versatile tool that you can use to educate and inform your audience. With Screen Recording, you won’t need to turn to your PC or laptop and manually demonstrate how to accomplish a tech-related task.

Show your cousins on the other side of the world how to play Fortnite, teach your subscribers how to spot a bug on your device, or even demonstrate a mobile retail process like how to sell a laptop online.

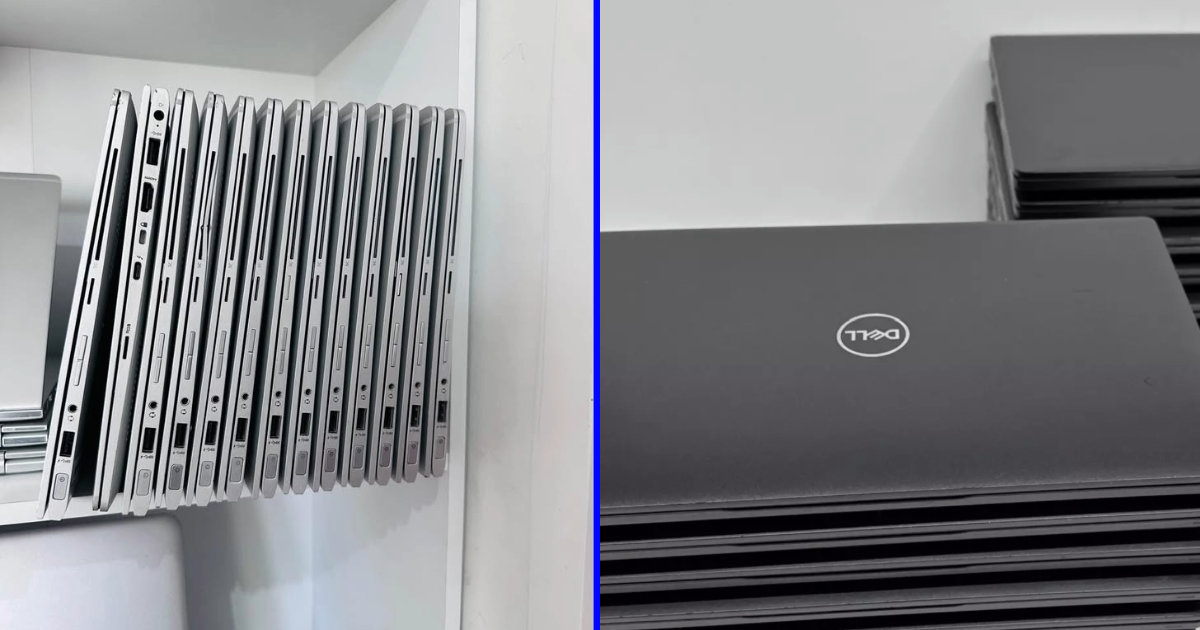
Cleaning Your Laptop Properly

Fingerprints on your laptop screen. Dust in the corners. Oily marks on the keys. These may lead you to ask yourself: when did you last clean your laptop?

Aside from dirt, grime, and oil being unsightly, unclean surfaces can harbor harmful germs. That dirty keyboard sitting at home can become the perfect breeding ground for potential illness. The Center for Disease Control recommends that you regularly clean any frequently touched objects and surfaces, and  this includes keyboards. With regular cleaning, you’ll prolong your laptop’s life too so there’s no need to find the best place to sell laptop units to so you can get rid of yours.

While the idea of cleaning your laptop can be intimidating, it doesn’t have to be. Follow these steps to get your laptop good and clean.

Steps to Properly Clean Your Laptop

In general, you should keep these laptop parts clean:

  • Case
  • LCD screen
  • Keyboard, including the touchpad
  • Ports
  • Cooling vents

You won’t need special equipment when cleaning your device. All you need are:

  • Rubbing alcohol
  • Water—bottled water works best as tap water may have mineral deposits that can leave spots
  • Microfiber or lint-free cloth(s)
  • Cotton swabs
  • Canned air

Before you begin

Turn off your laptop. Make sure that it is unplugged and remove the battery. Afterwards, prepare an alcohol-water solution (1:1) which will be used to dampen the cloth.

Start by cleaning the inside of your laptop

Use canned air to blow out the dust from inside of your laptop. Blow air in short bursts into the openings of your laptop. Doing this can prevent dust buildup form the inside, which if left unchecked can cause your laptop to overheat.

Proceed to cleaning the laptop case

Dampen your cloth with the 1:1 alcohol-water solution. Make sure that it’s only lightly moistened and not dripping wet. Proceed to wiping down the case using gentle motions.

Wipe the LCD screen

When wiping the screen, dry lint-free cloth will work fine. However, for more stubborn dirt and grime, you can also use the alcohol-water solution.

Dampen any microfiber or lint-free cloth. Using gentle motions, wipe the screen from left to right and then top to bottom. Avoid spraying the solution directly to your laptop screen.

Clean your keyboard and touchpad

Again, using the cloth and the alcohol-water solution, wipe the surface of your keyboard along with the touchpad. To get the dirt in between the keys, use cotton swabs.

You might get a bit excited especially now that you have a clean laptop, but first things first: make sure that your laptop is fully dry before you insert the battery and turn it on.

If you’re using a wireless mouse, don’t forget to clean it, too! Use a damp cloth with the alcohol-water solution and wipe off your mouse, including the bottom.

Taking care of your laptop and prolonging its lifespan doesn’t simply mean giving your battery a much-needed break, keeping your software and antivirus updated, or freeing up your hard drive. Thoroughly cleaning your laptop one very simple way to maintain it.