There are times when you need to record what happens on the screen of our iPhone or iPad to show someone how to use an app or to report a bug.
Although capturing screenshots and making annotations will be just as helpful, a live video recording is often more effective when you have to explain a procedure or problem to a viewer or listener.
How to Include Screen Recording in Your Control Center
Phones running on iOS 11 or a later update carry the screen recording feature. You have to add the screen recording icon to the Control Center to start using it.
To do this, go to Settings, tap Control Center, and then click Customize Controls. From this menu, scroll down the array of tools and select Screen Recording.
How to Start Recording
To begin recording, return to the Home Screen then go to the iOS Control Center. You can head to the Control Center more quickly by swiping from the bottom edge of your screen on your iOS 11. If you’re using iOS 12 or later, swipe down from the top-right corner of your screen to the bottom-left corner.
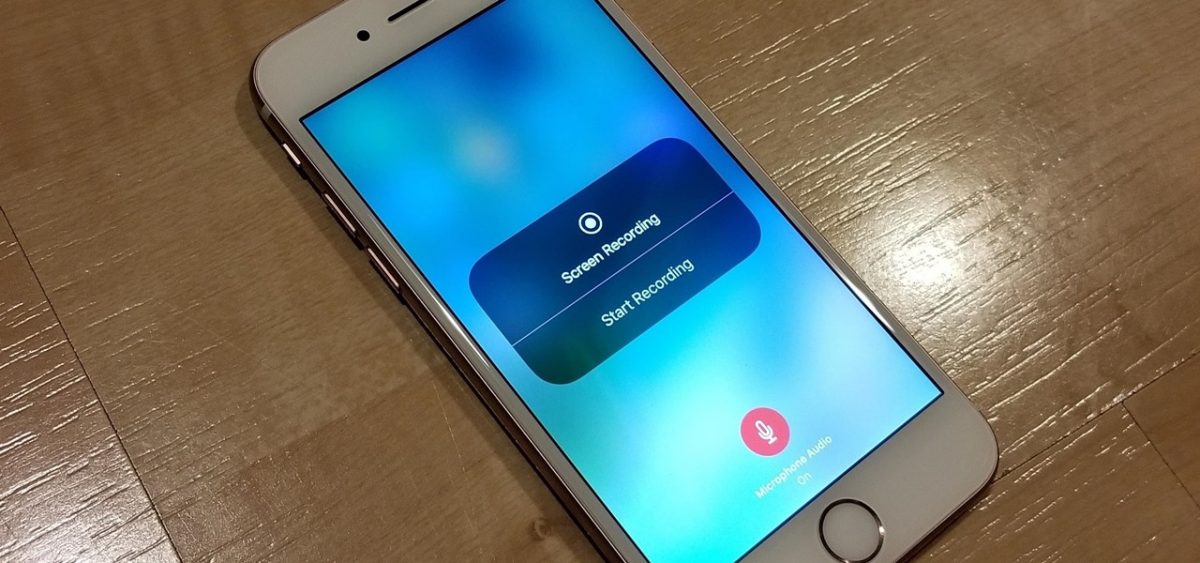
You should then find the Screen Recording icon—a solid circle at the center and a thin circle outside of it—among your tools at the bottom.
Once you click on the button, recording begins automatically after a three-second countdown. To ensure that text and phone call notifications won’t interrupt your recording, disable your alerts or enable the Do Not Disturb mode before you start recording.
A red bar or time indicator will appear at the top of your screen once you begin recording. Tap on this bar once and click "Stop" when a box pops up asking "Stop screen recording?" You can also end the recording by opening the Control Center again and tapping on the screen recording icon.
The recorded video is saved in your Photos app as a 45fps MP4 file. It has a resolution of 900 by 1,600 pixels. You can go to the Photos app to view, edit, and share your video.
If you want to record your conversation while doing something on your iPhone or iPad, do a long press on your Screen Recording button then enable the Microphone Audio option when you start screen recording. Adding audio is best for tutorials.
Other Screen Recorder Apps
You may also opt to download free third-party screen recording apps for added features.
For example, you can use DU Recorder to do a livestream on YouTube, Facebook, or Twitch.
Meanwhile, you can edit the background color of your recording, change the canvas size, and shorten
your video by using the Record It! Screen Recorder app.
Screen Recorder Can Turn Your Phone into a Mini Production House
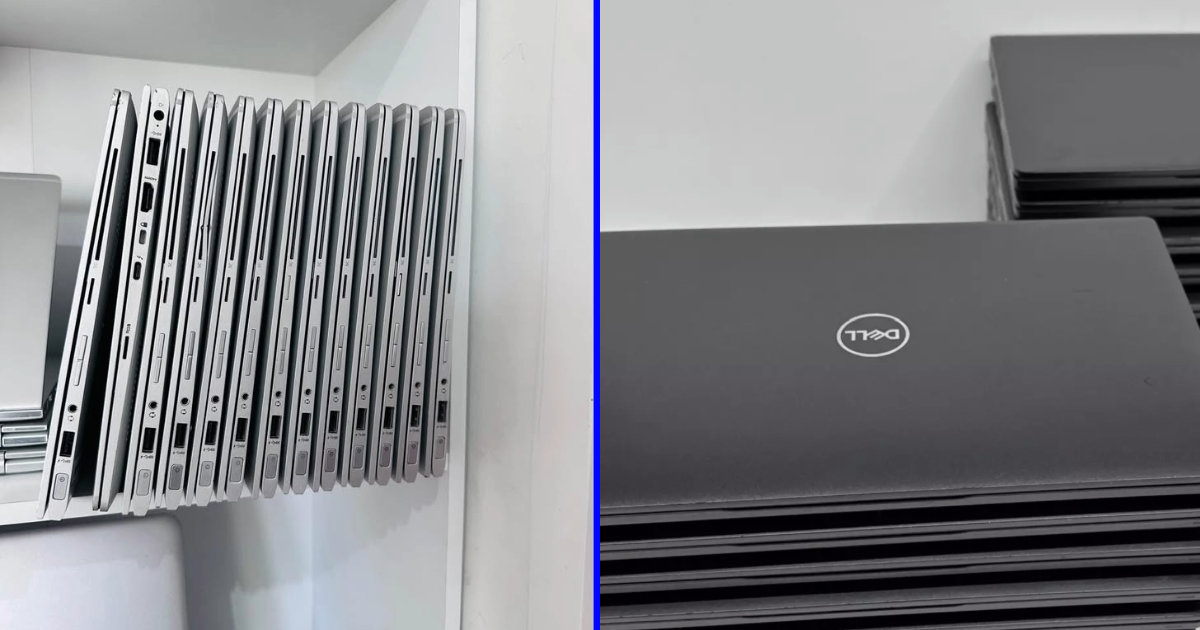
Besides using the screen recorder to explain a process or record your winning mobile game, the tool can also be helpful for bloggers and online traders, including those selling MacBooks or selling laptops online.
Instead of just writing your thoughts for a blog, you can make an audio commentary on a news report or make a review of a product by recording your voice while showing the website where the item or article appears.
You can also use the screen recorder to make a short video out of the pictures you’ve taken of a device or devices you wish to offer for sale.